Pre/Post Production
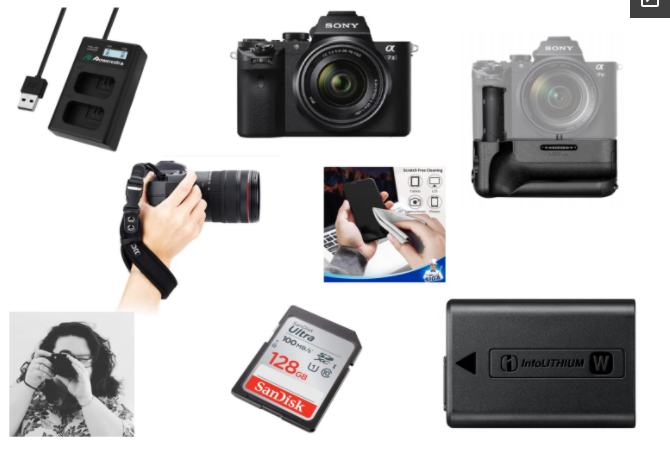
Equipment for shoot
- Camera body
- Lens
- Vertical battery grip
- Battery charger
- x2 batteries
- Wrist strap
- x4 memory cards
- Lens cloth
- Myself
Equipment for Post-Production
- Laptop
- Hard drive
- Memory Cards
- Creative Cloud, Adobe Photoshop, Adobe Bridge
- Microsoft Word
- Internet access to Issuu.com and FTP/Cyberduck
Shoot Plan
I plan to walk one route in Wotton-Under-Edge.
- Mount Pleasant
- Wortley Road
- Locombe Place
- Knap Road
- The Oak Ground
- Synwell Lane
- West View
- Holywell Road
- Marchese Walk & Dyers Brook
- Court Orchard
- Synwell Lane
- Mount Pleasant
I've decided that I am not going to take my tri-pod with me, because of the angles I want to shoot. I also want my images to be hand-held/natural.
I will be walking this route about once a week, at different time of the day to see if anything changes. I want to show the smaller images in the landscape by using different perspectives and angles, rather than looking at the landscape in front o you as one big picture.
To take these different perspectives I plan to get creative by sitting and or standing in the road (carefully). Getting up close to things to take them from different angles. I plan to use a range of shots including: close-up, extreme close-up and medium shot.
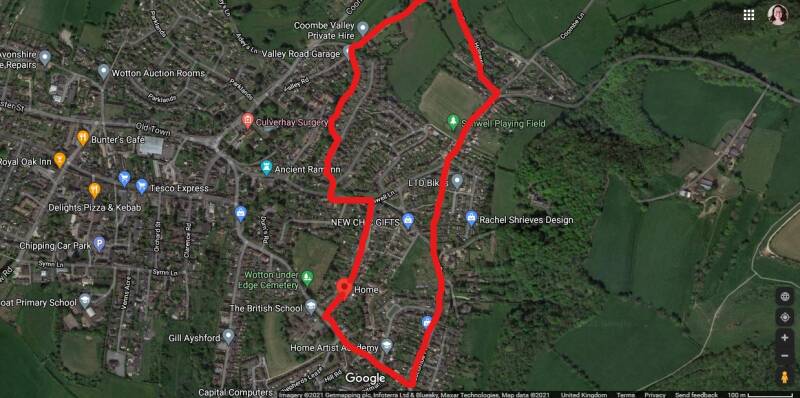
Image Selection
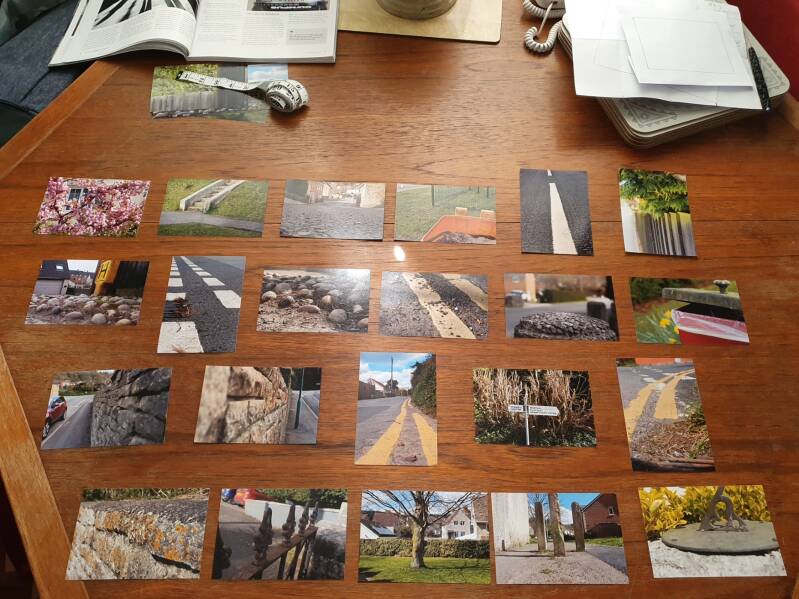
I had over 300 images from my shoots. So widdling down to twenty-two was difficult. I began by giving all my images a star rating on Bridge, with my mum to help. Once I had done that, I gathered all the four and five star images and put them in one folder. Afterwards my mum and I went back through and re rated them. This helped widdle them down to a final twenty-eight. From there we were sure, so I decided to get all twenty-eight printed and lay them out on the table to see which ones worked and which did not. This made editing much easier. I decided to keep the images in order of the route that I walked, this made the narrative more authentic.
Post-Production
Due to my lack of Adobe Photoshop skills our technician Matt, gave me two 1-2-1s using Camera Raw and basic Photoshop functions.
Photoshop Tutorial - Matt.F - 16.02.21
I found the after practicing with Camera Raw, my editing has become so much easier. I try my best to take less images, spending more time taking them. This makes post-production much easier as there is less to edit. Now I am studying Photojournalism and Documentary Photography opposed to Editorial and Advertising, Matt encouraged me to try and just shoot in RAW, rather than RAW and JPEG. This was definitely a change for me as I now have to use Adobe Bridge to access my images. It took me a while to get my head around it and I am still practicing, however it is becoming easier day by day and I am becoming a better photographer because of it.
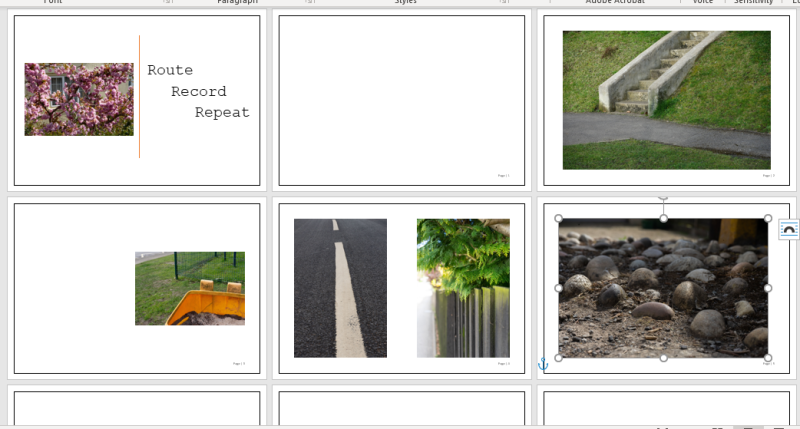
My Book - Route, Record, Repeat
For my book, I decided to go ahead with Microsoft Word. This is due to my lack of knowledge and skill with InDesign and other soft wears. I thought using Word was going to be straight forward, however it turned to be harder than I had first thought. There also wasn't as many editing options for a book layout, this limited my creativity. If I were to do this again I would build on my InDesign skills through tutorials to then make my book this way.
Colour Management (CMS)
Colour management helps to keep consistency in colour between devices. Each time a jpeg is edited the quality deteriorates, colour management is similar in a way but it helps lessen the deterioration to try and keep it the same colour.


Meta Data
Meta Data, is a collection of information embedded in an image. E.g., captioning, keywords, descriptions, camera settings and the artists copyright. This means either a company or another person cannot use your image without your consent. I can edit my meta data through adobe bridge.

Book Layouts


Create Your Own Website With Webador